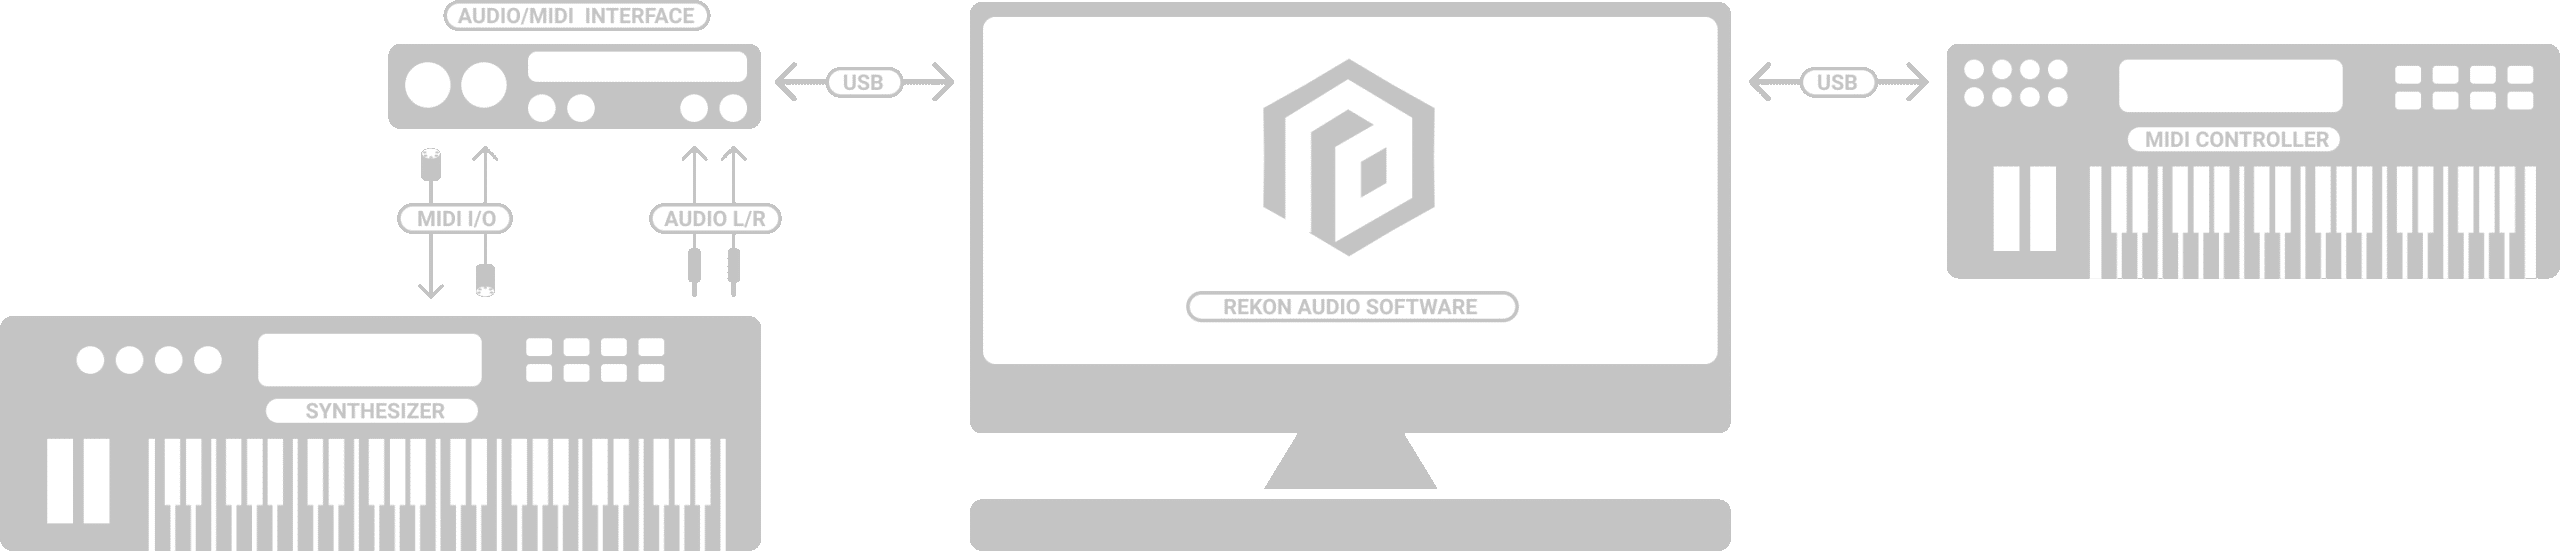
Step 1 - Connect the Synthesizer to the Audio Device1. Ensure your Synthesizer is properly connected with Left and Right audio cables to the computer's Audio Device, and that it is working properly on its own.
2. Click the 'Options' button in the very top left of the window, then select the 'Audio/MIDI Settings' menu item. Choose the highest quality audio driver available from the options (ASIO is preferred), and the audio Left and Right channels that are connected to the Synthesizer's audio outputs and the audio device audio inputs.
3. You should also select a MIDI Input that is connected to a remote MIDI keyboard controller (like an Akai MPK or other device), that may be used to play MIDI note and controller data into the Editor, and on to the Synthesizer. Only select a MIDI port that is connected to a remote keyboard controller! Do Not select the MIDI port connected to the Synthesizer! Failure to do so will result in the Editor not transmitting any MIDI data, and you won't be able to select this port in the Editor's MIDI Setup view where it is needed!.
Step 2 - Connect the Synthesizer to the MIDI Device1. First, make sure you have set up your Synthesizer following the 'Synth Specific Settings' outlined above.
2. Ensure you have completed audio setup in Step 1 outlined above.
3. Ensure your Synthesizer is connected with either the USB cable [required for Blofeld/Pulse2], or both standard MIDI In and MIDI Out cables connected to your computer's USB/MIDI Device.
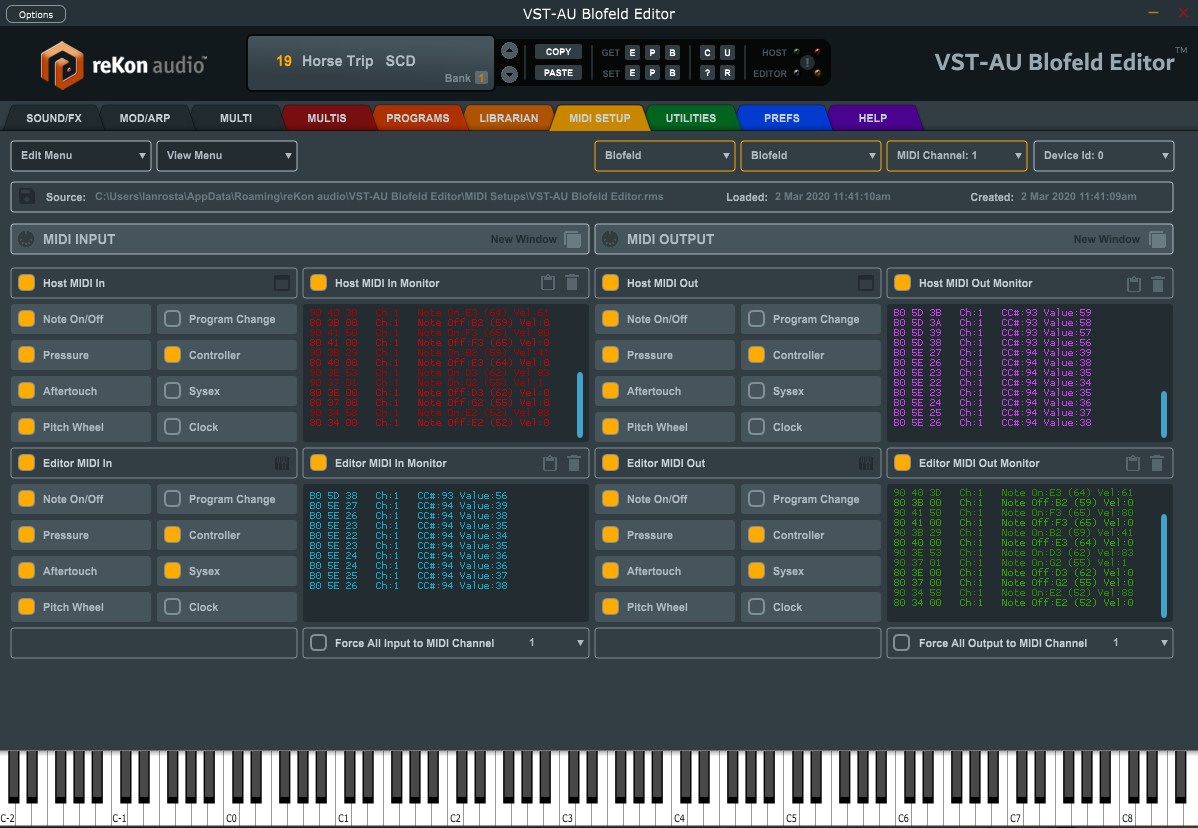
4. Open the 'MIDI SETUP' tab and select the MIDI In and MIDI Out ports that are connected to the Synthesizer. Make sure these same MIDI ports are not being used by any other Audio/MIDI applications first! If they are, disable them or close those applications then restart the Standalone software.
5. Select the 'MIDI Channel' that you wish to send and receive MIDI data to/from the Synthesizer on. Ensure this value is the same setting on the Synthesizer as well. (*Note- It is best to start with MIDI Channel 1).
6. It is recommended you leave all the MIDI checkbox settings at their default settings for best results. You must leave 'Program Change' checkboxes turned off or Sysex MIDI messages (ie. Editor Programs to the Synthesizer) will not be transmitted, only a Program Change MIDI message will be transmitted, which is likely not what you want to be doing with the Editor. This is an intentional design for flexibility of the MIDI system.
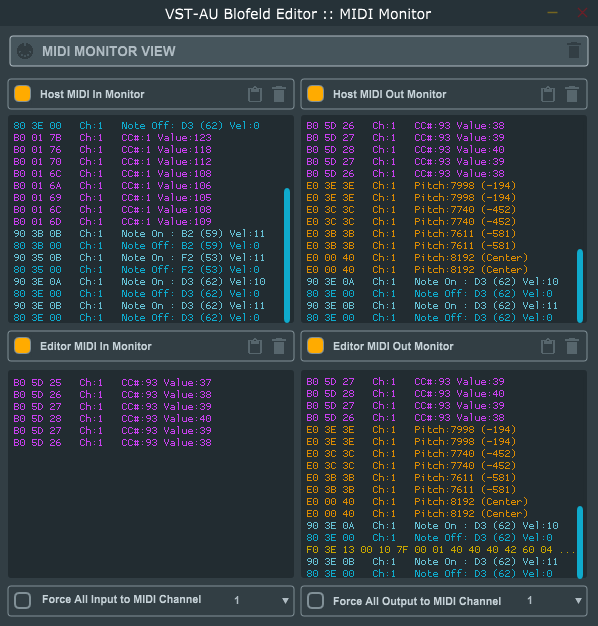
7. Move some knobs on the Synthesizer, or change Programs in the Editor and verify MIDI data is being transmitted and received in the MIDI Monitor. This will affirm you have MIDI connectivity to and from your Synthesizer and the Editor.
8. If you are having issues with MIDI not transmitting, please ensure all four 'Program Change' checkboxes are turned off in the 'MIDI Setup' view, and also check that no other applications are using the MIDI ports. If you have tried this already, then reboot your system and start by only opening the Standalone application, then selecting the MIDI ports again.
Step 3 - Load the Software - Configure DevicesOpen the Standalone application and follow the instructions below to setup your devices.
- Audio Config: Click the 'Options' button in the very top left of the screen. Then select the 'Audio/MIDI Settings'.
- Select Audio Card Driver: Select the audio card and channels connected to the synthesizer. Use an ASIO driver if one is available.
- Select Remote MIDI Keyboard Controller Input: If you have a remote MDI keyboard controller, Select it under the 'Controller Keybard In' section. Ensure the MIDI ports connected to your Synthesizer are NOT selected here! Failure to do so will result in the Editor not working.
- Extra MIDI Output: Leave this setting 'OFF' for now. You do not need it.
- Close Dialog: Close the 'Audio/MIDI Settings' dialong. You can save the setup if you wish.
Step 4 - Configure MIDI DevicesClick the MIDI SETUP tab. The three fields with the yellow border are the MIDI Port and Channel settings. The first one is the MIDI Input port, then the MIDI Output port. Select the MIDI device that is connected to the Synthesizer here, then select MIDI Channel 1.
Step 5 - Load In Your ProgramsNext, we need to decide where we want to load Program data from. We can load data into the Editor from the Synthesizer, from a .FXB or .SYX Bank file, or from Programs stored in the Library database.
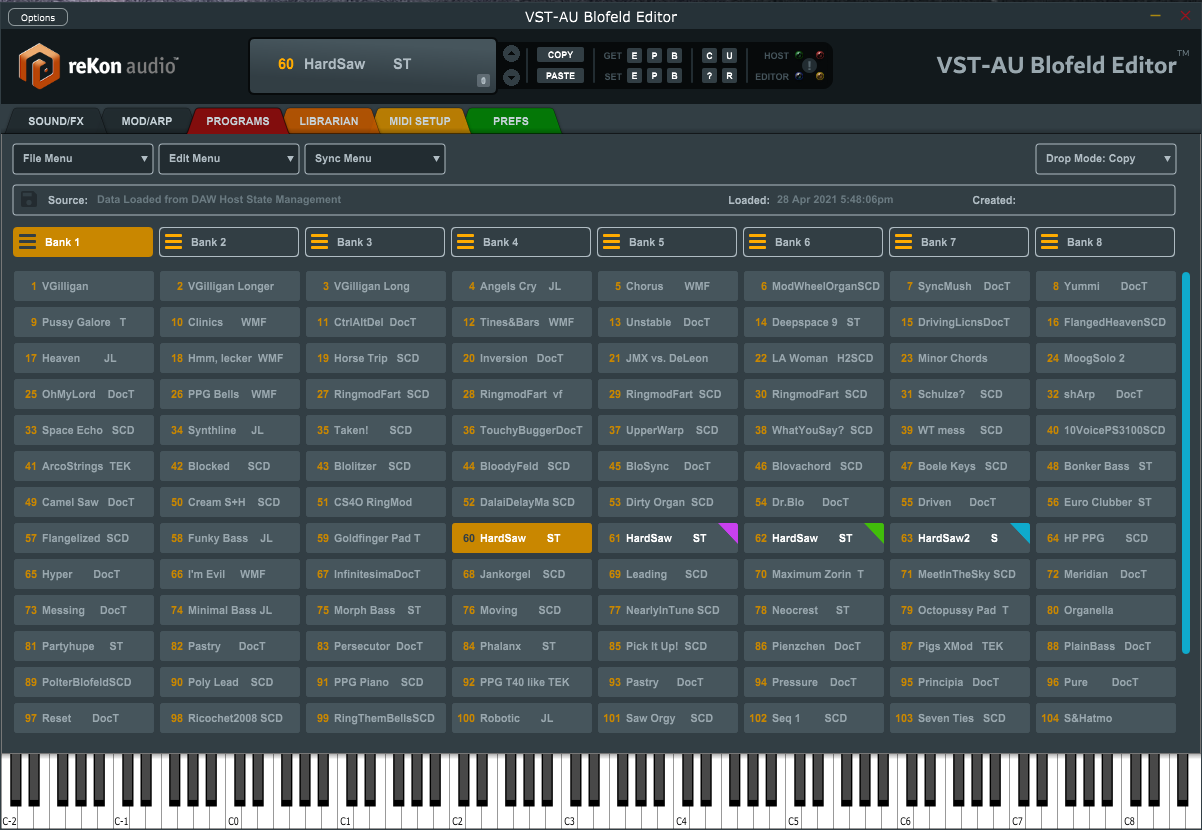
- Load Programs from Synthesizer: Open the 'PROGRAMS' tab and Select the Bank button for the Bank you wish to load from the Synthesizer. Select 'Sync>Load Bank from Synthesizer' from the Menu. The Editor will send a command to the Synthesizer and request all Bank Program data and capture this data into the Editor Programs for that Bank. It may take a few minutes to load all the Programs in to the Editor.
- Load Programs From File: You can Load a Bank of Programs, or All Banks from either an .FXB or .SYX Bank file. Loading Bank data this way is very fast.
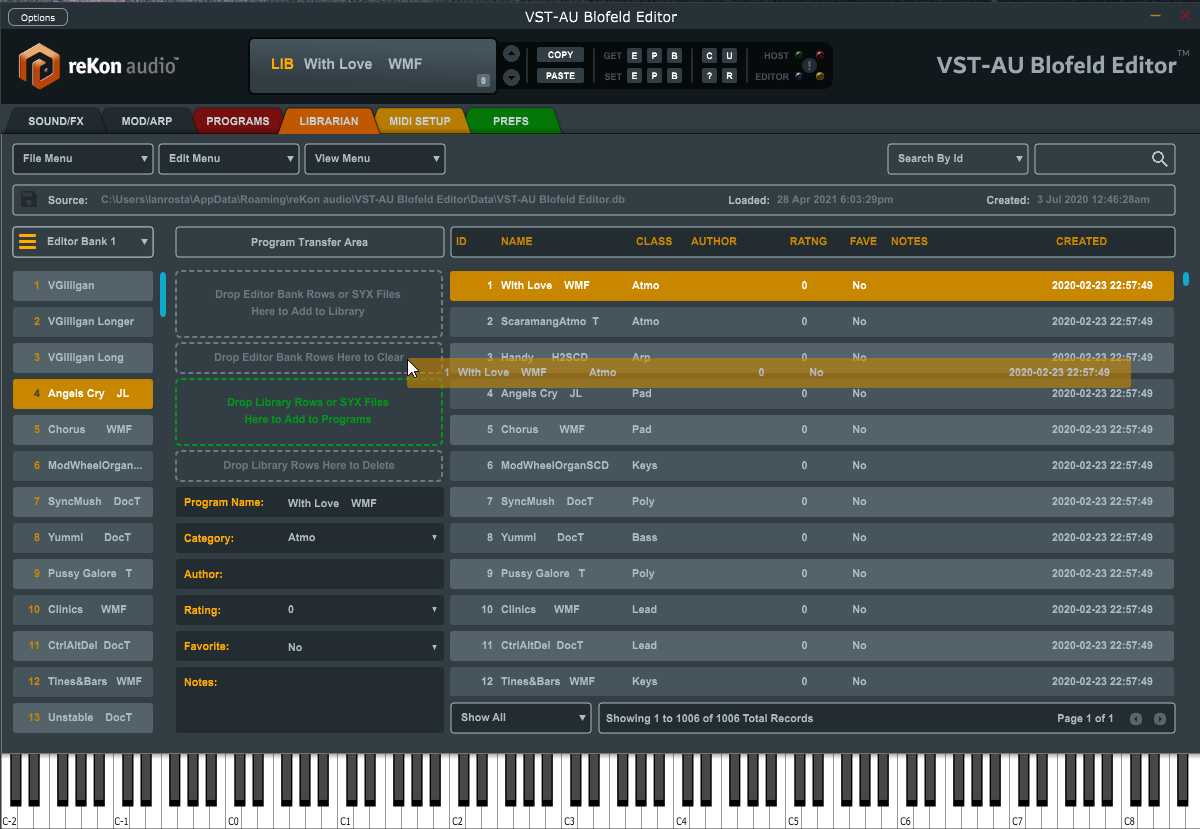
- Load Programs from Library database: You can build up your Editor Bank Programs easily by dragging and dropping Programs from the Library database, or single .syx file Programs from a File Explorer, into the Editor Bank Programs.
Once Programs are loaded into the Editor Bank, you can modify, re-arrange, rename, duplicate, or perform any other changes required to define the Programs and Bank exactly as you like. When you are satisfied with the results of your edits, you can easily add these Programs to the Library database, Transfer them to the Synthesizer, or export them as .SYX files for future reference.
After you have loaded data into the Editor and then close the Editor. It will restore the data that was last loaded and edited.
Step 6 - Start Editing and Creating!You should be all set to start playing and creating your custom Programs and Banks quickly and easily now. Select the first Tab and begin moving knobs and sliders and changing values while playing notes from your remote MIDI keyboard controller to see how the changes affect the sound in real-time. All your changes are automatically kept, so when you come back to that Program later, all your changes are still there. This is called 'destructive' editing because it overwrites your existing data as changes are made, instead of during a final 'save' command, so be sure you have or save a copy of your Programs and Banks before you start changing them in the Editor. If you imported your Programs from the Synthesizer first, those Programs are still intact on the Synthesizer as the Editor does not permenantly overwrite the Synthesizer's stored data, unless you specifically tell it to by using the 'Set Program', or 'Set Bank' command from the Editor.
You can change the current Program from the Main Bar area, the Library Editor Banks view, or the Programs view. Once you have changed a Program using the mouse, you can use the Up and Down arrow keys to quickly change Programs while previewing them until you use the mouse to place focus on other items. In the Main Bar and Programs view, you can also rename the Program.